Unlimited Gold, Unlimited Cash, Unlimited Item, Unlimited Boost 

UPDATED ON MARCH 30, 2016
ONLY WORK FOR ROOTED DEVICES, GET ROOT!
ONLY WORK FOR ROOTED DEVICES, GET ROOT!
UPDATED VERSION
• DEAD TARGET: Zombie v1.7.9 Cheats
YOU WILL GET
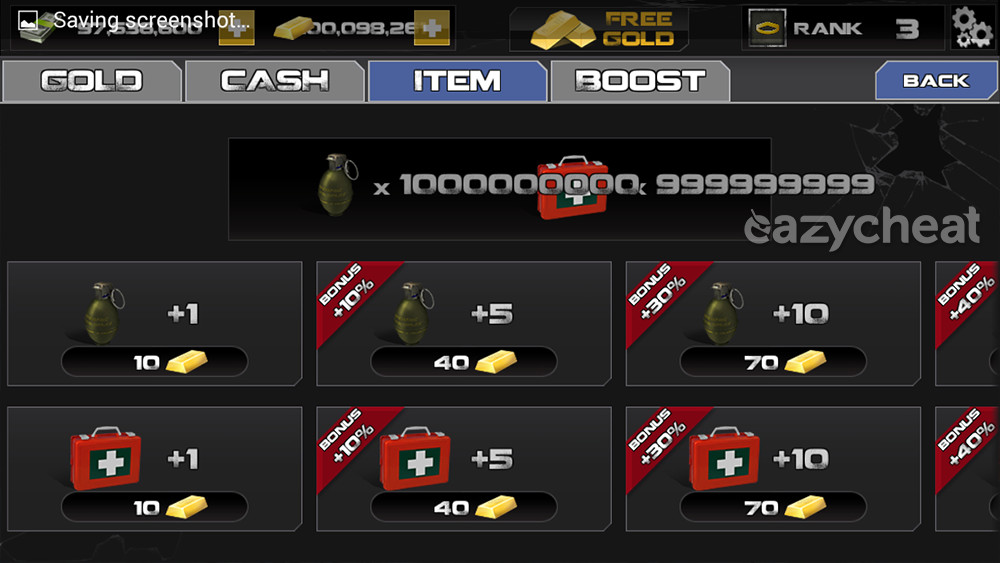
• Unlimited Gold
• Unlimited Cash
• Unlimited Item
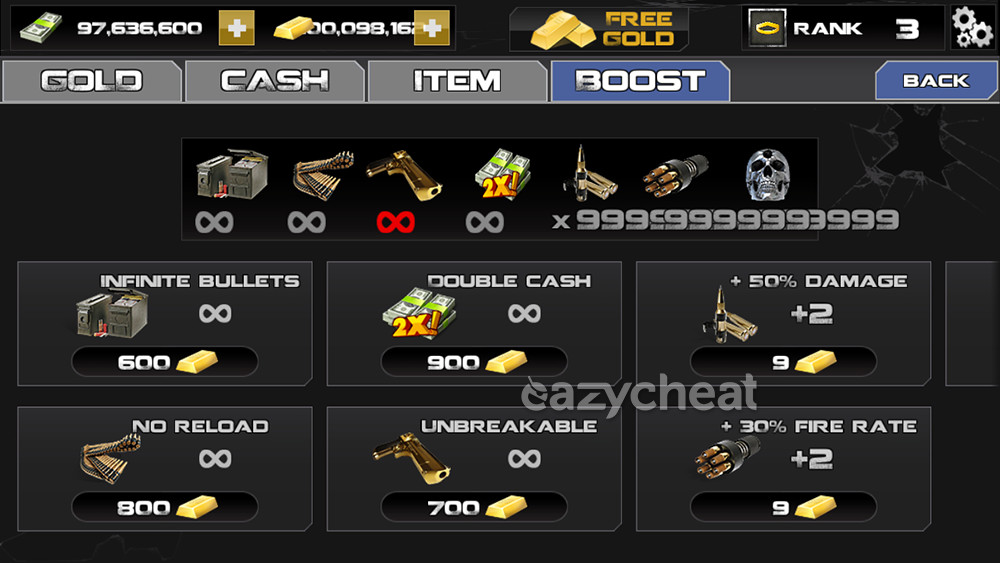
• Unlimited Boost
DESCRIPTION
• Dead Target 1.7.1 game save file
• Will work to newer version
• You can update the game after applied this cheat
• Must be extracted using ES Explorer
TESTED AND WORKS ON
• Android 4.4.4
• Android 4.4.2
• Android 4.2.1
• May work on Lollipop
WARNING!!!
• This will remove your current progress!
• Backup your game data!
LET'S DO IT
• Force stop game and clear data
• Download game save file | big button between the ads
• Extract to /data/data/
• Run your game and enjoy!
IMPORTANT!
• How to download game save file
• How to to root your phones
• How to force stop game and clear data
• How to extract game save to /data/data/
• Must-Have phone accessories ads
• How to get access to /data/data/
• How to backup game data
• How to check root on your device
• DEAD TARGET: Zombie v1.7.9 Cheats
YOU WILL GET
• Unlimited Gold
• Unlimited Cash
• Unlimited Item
• Unlimited Boost
DESCRIPTION
• Dead Target 1.7.1 game save file
• Will work to newer version
• You can update the game after applied this cheat
• Must be extracted using ES Explorer
TESTED AND WORKS ON
• Android 4.4.4
• Android 4.4.2
• Android 4.2.1
• May work on Lollipop
WARNING!!!
• This will remove your current progress!
• Backup your game data!
Go to /data/data/ find com.vng.g6.a.zombie folder and copy to your backup location
• Not sure..., try on BluestacksLET'S DO IT
• Force stop game and clear data
• Download game save file | big button between the ads
• Extract to /data/data/
• Run your game and enjoy!
IMPORTANT!
• How to download game save file
• How to to root your phones
• How to force stop game and clear data
• How to extract game save to /data/data/
• Must-Have phone accessories ads
• How to get access to /data/data/
• How to backup game data
• How to check root on your device


